Stripe Testing
This guide will show you how to test and try out your checkout, payments, and webhooks locally.
First, make sure you’ve set up your Stripe account for local development. You can find the guide here.
Testing Webhooks via the Stripe CLI
- In a new terminal window, run the following command:
stripe login- start the Stripe CLI webhook forwarding on port 3001 where your Node server is running.
stripe listen --forward-to localhost:3001/stripe-webhookremember to copy and paste the outputted webhook signing secret (whsec_...) into your .env.server file under STRIPE_WEBHOOK_SECRET= if you haven’t already.
- In another terminal window, trigger a test event:
stripe trigger payment_intent.succeededThe results of the event firing will be visible in the initial terminal window. You should see messages like this:
...2023-11-21 09:31:09 --> invoice.paid [evt_1OEpMPILOQf67J5TjrUgRpk4]2023-11-21 09:31:09 <-- [200] POST http://localhost:3001/stripe-webhook [evt_1OEpMPILOQf67J5TjrUgRpk4]2023-11-21 09:31:10 --> invoice.payment_succeeded [evt_1OEpMPILOQf67J5T3MFBr1bq]2023-11-21 09:31:10 <-- [200] POST http://localhost:3001/stripe-webhook [evt_1OEpMPILOQf67J5T3MFBr1bq]2023-11-21 09:31:10 --> checkout.session.completed [evt_1OEpMQILOQf67J5ThTZ0999r]2023-11-21 09:31:11 <-- [200] POST http://localhost:3001/stripe-webhook [evt_1OEpMQILOQf67J5ThTZ0999r]For more info on testing webhooks, check out https://stripe.com/docs/webhooks#test-webhook
Testing Checkout and Payments via the Client
Make sure the Stripe CLI is running by following the steps above. You can then test the payment flow via the client by doing the following:
-
Click on a Buy button on the for any of the products on the homepage. You should be redirected to the checkout page.
-
Fill in the form with the following test credit card number
4242 4242 4242 4242and any future date for the expiration date and any 3 digits for the CVC. -
Click on the “Pay” button. You should be redirected to the success page.
-
Check your terminal window for status messages and logs
-
You can also check your Database via the DB Studio to see if the user entity has been updated by running:
wasp db studio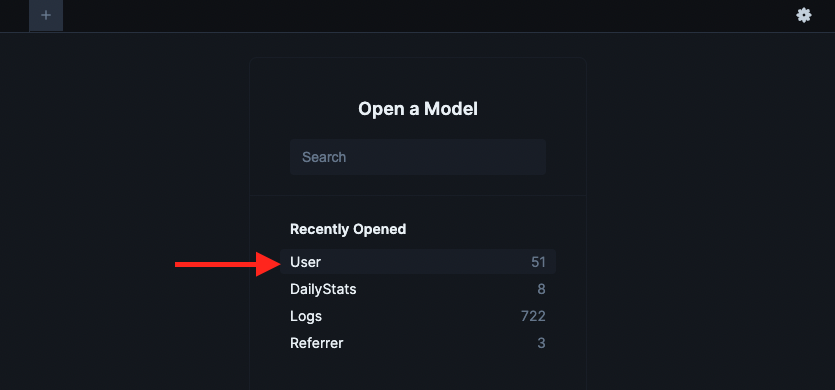
- Navigate to
localhost:5555and click on theuserstable. You should see thesubscriptionStatusisactivefor the user that just made the purchase.